Manual claim adjustments
If your role and privileges allow, you can select a “Adjust and restore” or “Claim adjustment” from the Actions menu of any Pending-Approved or Resolved claim.
Selecting “Adjust and restore” will restore the claim data to its submitted state before displaying the claim adjustment screen; selecting “Claim adjustment” will display the claim adjustment screen with the claim data displayed as it was upon finalization of the original claim.
Once you select an option, Smart Claims Engine displays the Claim adjustment
screen. You are prompted to select a claim reconsideration reason code; you also
have the option of adding additional claim adjustment reason codes by clicking + Add
adjustment reason. A freeform claim adjustment reason note is required. 
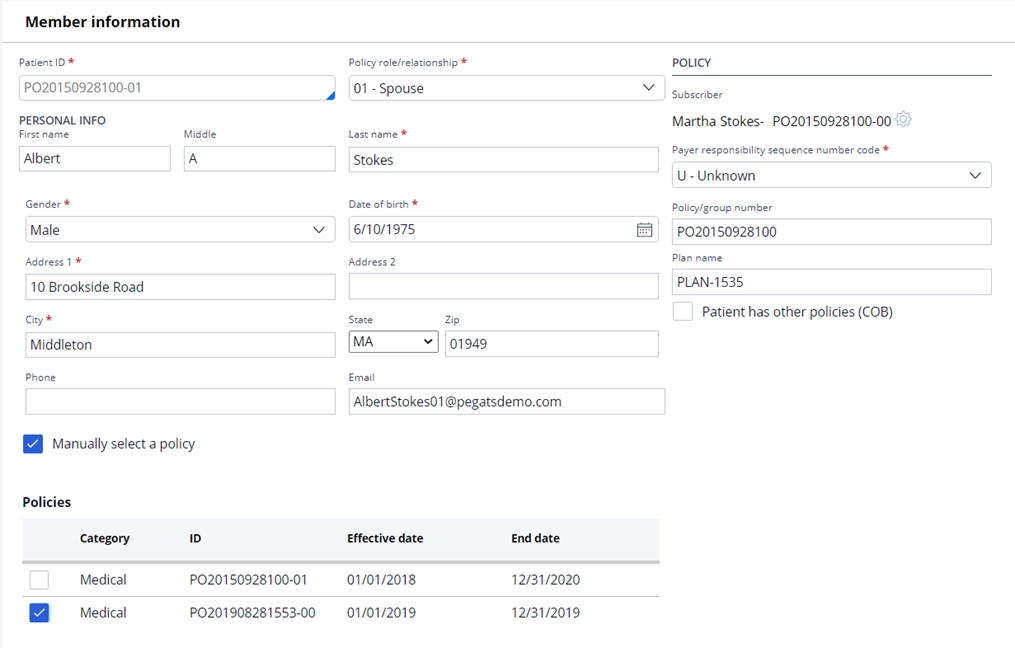
SCE displays the Member information, Providers and Claim lines slots. Fields that are
editable are displayed with a light border. In the Member information slot, Smart Claims
Engine allows the Senior Claims Examiner role to manually select a policy. If this
option is used, the policy selection overrides all system policy selection logic. 
To edit providers or claim lines, select the gear icon next to the appropriate choice; the editable fields are then displayed. To add a new provider or claim line to the claim, click Add new.
To adjust the Claim header, click Edit to access the fields for adjustment.
The fields available for adjustment are defined in Smart Claims Engine and are role-based. Once you have completed the desired adjustment, click Submit at the bottom of the screen. The adjustment claim is created and sent for processing, while the original claim status changes to Resolved-Cancelled or Resolved-Voided, based on its prior status.
The two claims (original and adjustment) are also linked to each other as adjustment claims via the related claims hyperlink.
Previous topic Manually splitting claims and claim lines Next topic Mass adjustments - adjust, reprocess, void/cancel
