Extending the New Application wizard
The New Application wizard is the quickest and easiest way to create new applications. The wizard has several extension points that allow users to capture any custom information needed for their applications.
New application wizard basics
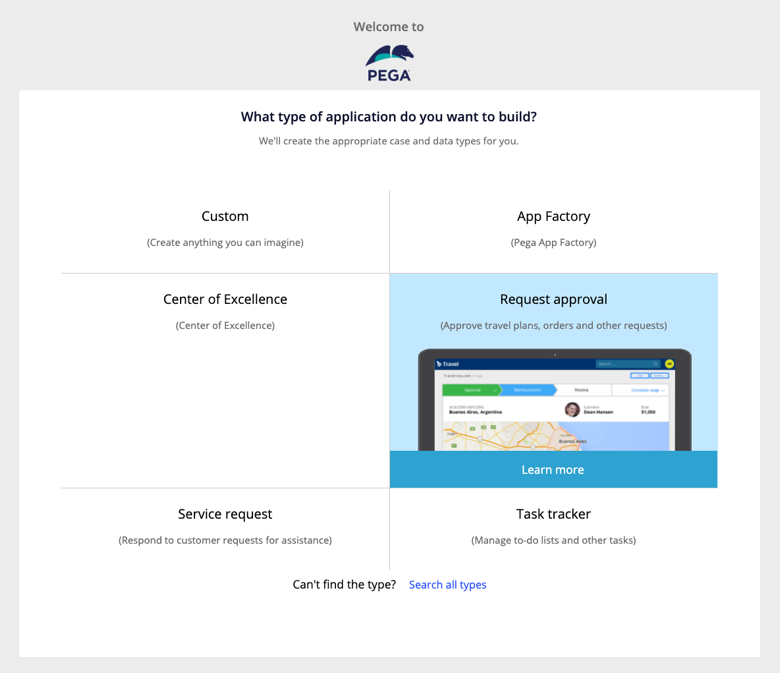
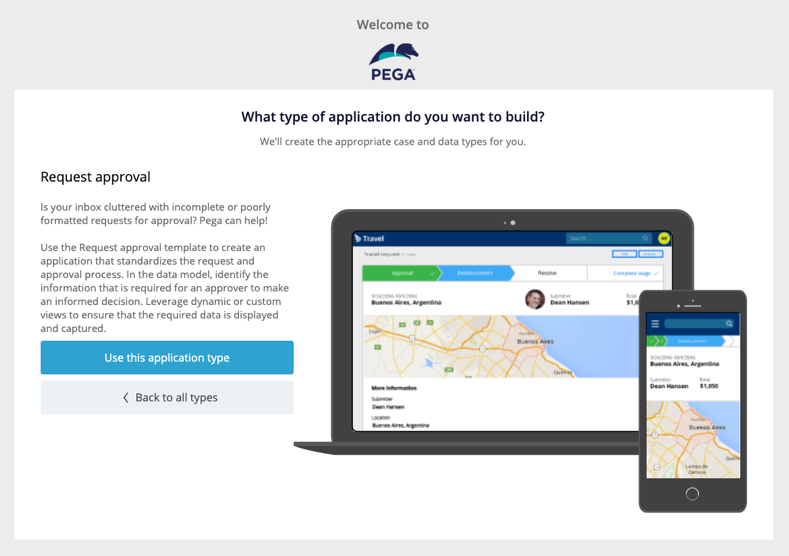
Two steps bookend the New Application wizard. The first step is to select and learn more about an application template. This step displays all applications that have been defined as templates or built-on. Pega provides several sample application templates that allow your new application to get a head start. You can also use a custom application that builds your application directly on the Pega Platform™. If you wish to hide the custom template, override the when rule pyDisplayCustomAppTemplate.


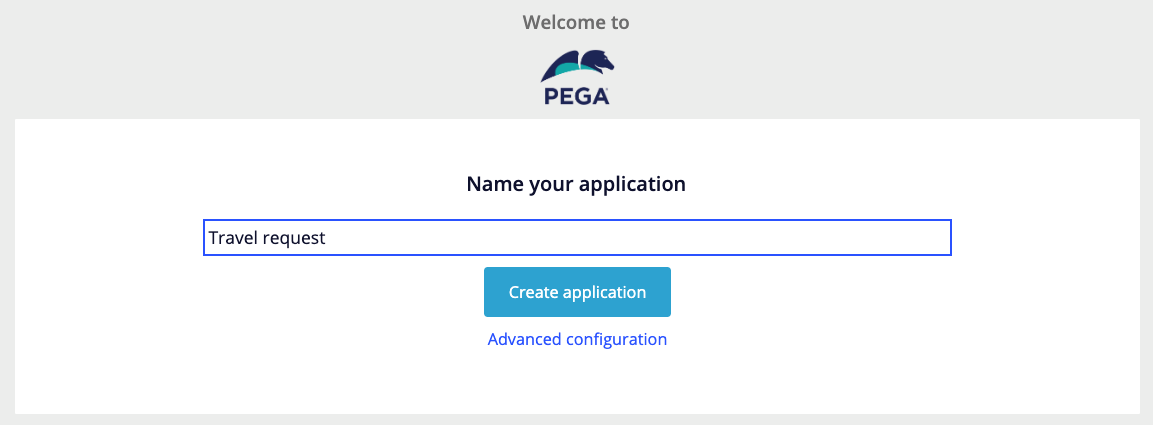
The final step is to name the application.

All custom steps take place between the two bookend steps.
Add a step to the new application wizard
Use the following procedure to add a new step to the New Application wizard.
Create a section, flow action, and properties for the custom step
Create your custom step as a flow action and update the flow action to meet your needs. The New Application wizard handles the form submission by using the Next button so that flow action submission is handled for you. The flow action must live in either PegaAccel-Task-BuildApplication or any class in the flow action inheritance. At run time, the wizard runs all pre- and post-processing configured on the flow action.
Create your custom section to capture the information you would like to display. Reference your section from your new flow action. Much of the styling is handled by the framework to keep a similar look and feel between steps. If you need to add a new style that cannot be found in the framework or the skin (not recommended), you can extend the py-application- style sheet.
Append an entry to pyNewApplicationSteps data transform
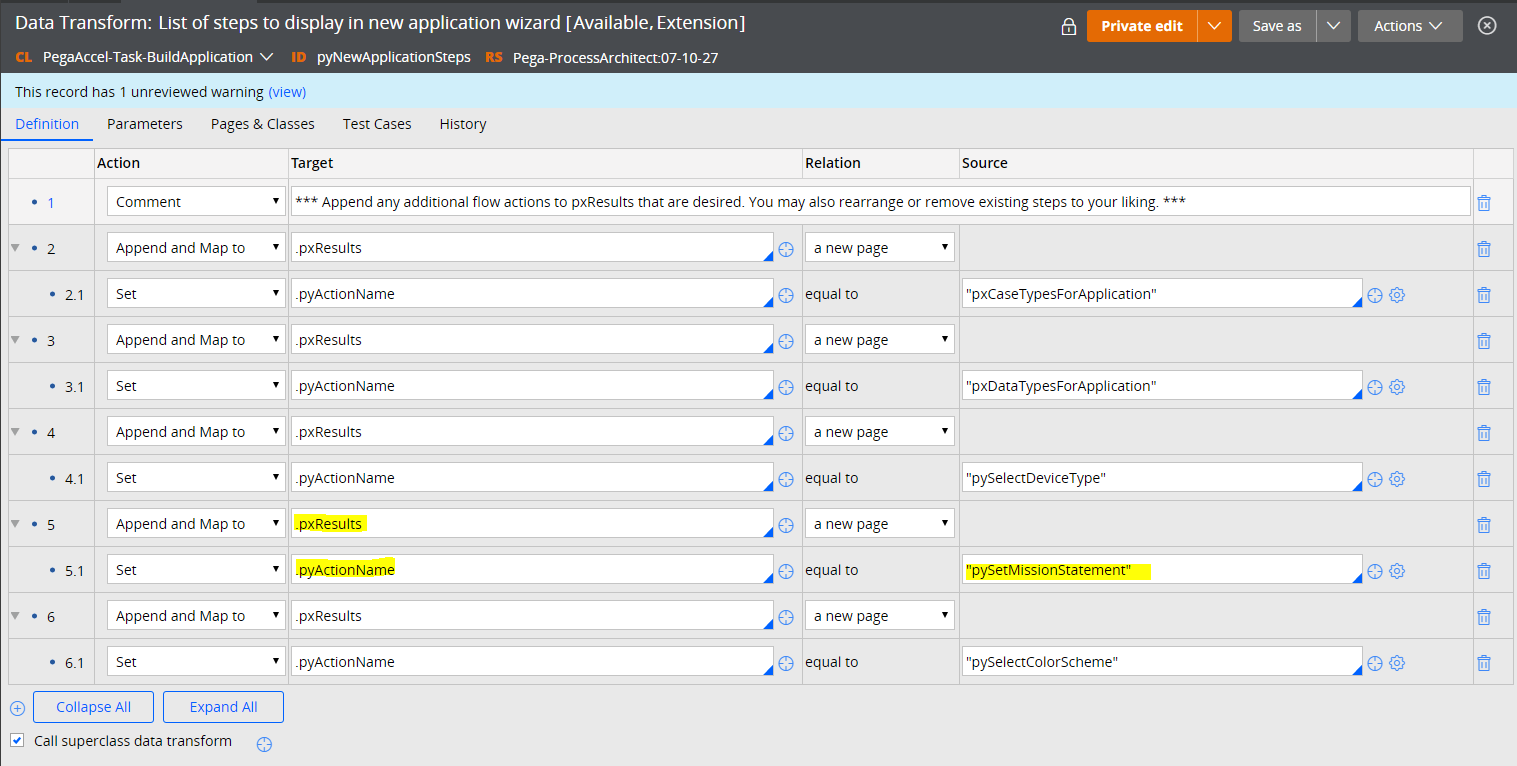
The data transform pyNewApplicationSteps controls which steps are displayed in the wizard. Appending a new page to pxResults and setting pyActionName to your custom flow action adds the step to the wizard.

To remove a step from the wizard, remove the entry from the data transform. You can also perform a reorder by placing steps above one another.
To store your custom configuration, the best practice is to use an editable data page defined against a custom class for your flow action step page.
Configure when the “Next” button is displayed/disabled
The Next button is included at the bottom of the wizard and is displayed for all steps that you add to the wizard. Clicking Next submits the current flow action, performs any post-processing, and loads the next step. You can override the visibility and disabled conditions on the button for your custom step.
- pyNextStepDisplayed – Controls the visibility of the Next button. You can add conditions to this when rule if you wish to conditionally show the button for your step.
- pyNextStepDisabled– Controls the disabled condition on the Next button. Add conditions to this when rule if you wish to conditionally disable the button.
For any conditions that require properties you are collecting during your custom step, ensure that you are posting that data for the pyNextStepDisplayed and pyNextStepDisabled when rules to read.
Integrate your step to the App Generation activity
Once you configure your custom step, you must update the application generation to use the data collected in the custom step. There are three extension point activities available to you. Each contains commented out example steps as well as description and usage information about when each is invoked. The three activities are:
- @baseclass.pyPrepareFrameworkAssetsForGenerationSetup
- Rule-Obj-CaseType.pyPrepareFrameworkAssetsForGeneration
- @baseclass.pyPrepareFrameworkAssetsForGenerationPost
Previous topic Customizing App Studio
