Document intake
Document intake enables you to attach the required documents for a particular category.
You can do the following from App Studio.
- Configure a document.
- Create a new document category or use an existing category.
- Add specific documents to a category.
- Configure other details such as, mandatory document, optional document, and so on.
For various applications, depending on the norms and policies, different set of documents
need to be uploaded as a part of any case. To achieve different set of requirements for
different applications, you can use this component and configure it accordingly. 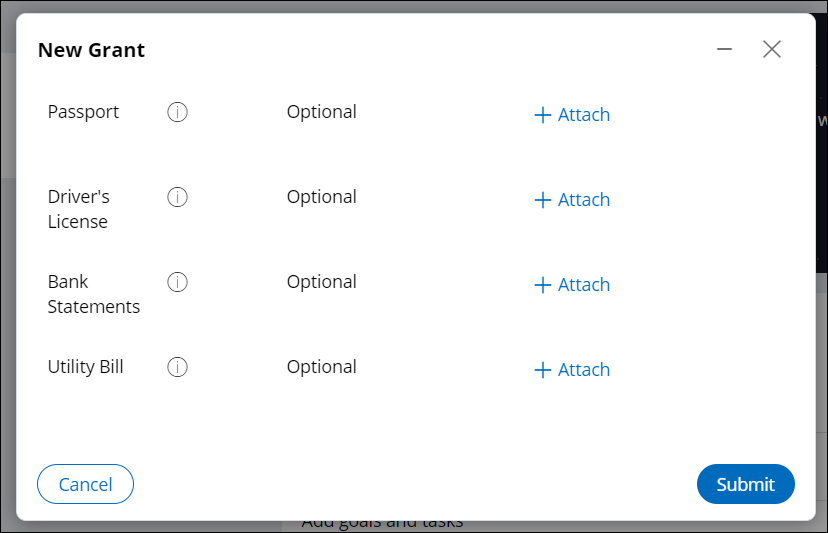
Configuring Document intake in case designer
Use the Document intake process component in a case type as a step in any of the stages.
- Log in to Pega Government Platform as an administrator.
- In the header of your workspace, click the Switch Studio menu, and then click App Studio.
- In the navigation pane of App Studio, click Case types.
- From the Case types column, click a case type, or click the New button to create a new case type.
- In the Case life cycle section, click Stage, and then enter a name in the text box.
- Hover over process, and then click .
- Click the Select button.
- In the Document details section, in the
Source list, select a source.
- Select By name, and in the Purpose list, select a document from the list of required documents.
- Alternatively, select By property to specify a property on the work class that supplies a specific document at run-time.
- In the Routing details area, select
an operator:
- To route the assignment to the current operator, click Current operator.
- To specify a user or operator to whom you want to route this assignment, click Specific user, and then, in the User field, select a user or enter a property in the work class that supplies a specific operator ID at run time.
- To route the assignment to a specific work queue, click Work queue, and then, in the Queue field, select a work queue name or enter a property in the work class that supplies a specific work queue at run time.
- Click Save.
- Click the Views tab, and then click Create
new view.
- In the Search box, enter Intaken documents, and then click the Add to view icon.
- In the Options list, select Read-only.
- Click Submit.
Viewing the added documents in read-only view
Editing or adding a new document purpose
Add a new document purpose with a list of documents.
For different applications, you may have to upload unique sets of documents. Using App Studio, you can edit an existing purpose and a list of documents, or add a new purpose and the corresponding list of documents.
- Log in to Pega Government Platform as an administrator.
- In the header of your workspace, click the Switch Studio menu, and then click App Studio.
- In the navigation pane of App Studio, click PGP, and then click Document intake.
- Click a document category to edit it, or click the New document button to create a new document category.
- In the Purpose box, enter the purpose of the document category.
- In the Document items section, click Add documents to add them to the category.
- Configure the document items as desired and click
Save.

Extending Document intake
Override the UploadDocument (PegaPS-Work) wrapper section that is shown to the user at run time to a specific application or to a specific case to update the UI as per your requirement.
Previous topic Consent Agreement Next topic Verify document