Creating outbound email templates
To ensure better and customized branding in Pega Email Bot™ when interacting with customers, you can specify how sent emails look by creating new templates to fit the needs and requirements of your organization. As a result, automatic acknowledgment emails from the email bot or the emails that customer service representatives (CSRs) send always have a consistent look and feel that corresponds to your company branding.
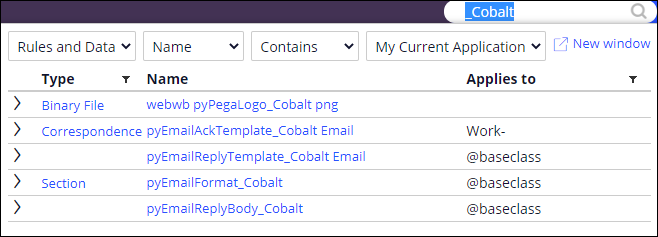
To define a new outbound email template with a <template_name> name, you can take two different approaches. You can create a copy of one of the built-in templates that is closest to the desired end result by first finding the four rules for the outbound email templates by searching for _Classic, _Cobalt, or _Clear in the system. You then copy the four rules keeping them in the same class, removing the py prefix and appending <template_name>. Pega recommends this approach of copying the four rules and updating them to fit the requirements of your organization. Alternatively, you can create all four rules from scratch. The four rules for the new outbound email template you create must include the <template_name> suffix so that later you can select the new template during Email channel configuration.
If you create all four rules from scratch, to use the secure built-in threading mechanism for tracking email replies in the correct email thread for a triage case, add the following tag in the HTML source for your new EmailFormat_<template_name> rule:
<pega:include name="pyEmailThreadIdentification" type="Rule-HTML-Paragraph"></pega:include>Because you define this HTML tag in the rule, the system embeds an encrypted security code in the email body to help track email replies in the correct email thread for a triage case. The built-in templates already include this HTML tag in the rule. For more information, see Email triage process.
- Section EmailFormat_<template_name> - @baseclass
- Defines a wrapper with HTML tags for your acknowledgment and reply outbound email templates. The system uses the HTML within this section as the template for the associated Correspondence rules. You typically define in this rule the heights and widths of the areas of the email as well as the background colors. You also designate in the rule the header, body, and footer section of the email by using the data-pega-region attribute applied to a div tag.
- Section EmailReplyBody_<template_name> - @baseclass
- Defines a standard section to include as the email body in your reply outbound email template. This section must include the code that iterates over the EmailConversations pagelist and builds up the HTML for the email reply in a thread. The system adds each email in the conversation thread in its own table so that the system can style the email.
- Correspondence EmailReplyTemplate_<template_name> Email - @baseclass
- Defines the email outbound reply template that uses the EmailFormat_<template_name> as the format and EmailReplyBody_<template_name> as the primary content body. You also specify the logo HTML in the header and copyright string in the footer in this rule.
- Correspondence EmailAckTemplate_<template_name> Email - Work-
- Defines the email outbound acknowledgment template that uses the EmailFormat_<template_name> as the format and the pyEmailAckBody section rule as the primary content body. You specify the logo HTML in the header and copyright string in the footer in this rule.
- Switch to Dev Studio.
- Create a new email format template with
EmailFormat_<template_name> as a section
rule:
- In the search field, enter _Cobalt
- In the search results, click pyEmailFormat_Cobalt.
- Click the HTML tab, and in the HTML source field change the HTML to represent your company branding.
- Click Save as, and then click Save as.
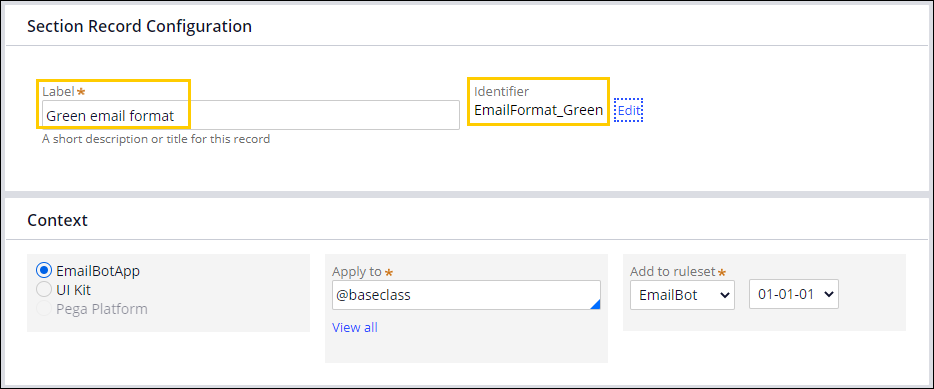
- In the Section Record Configuration section, in the Label field, enter a title for the rule.
- Click Edit next to the Identifier field, enter an identifier name in the following format: EmailFormat_<name>, and then click OK.
- Click Create and open.
- Create a new EmailReplyBody_<template_name> rule to
include in your reply outbound email template:
- In the search field, enter _Cobalt
- In the search results, click pyEmailReplyBody_Cobalt.
- Optional: To change the reply body template information, click the
HTML tab, and then in the HTML
source field change the HTML so that it is consistent
with your company branding.
- Click Save as, and then click Save as.
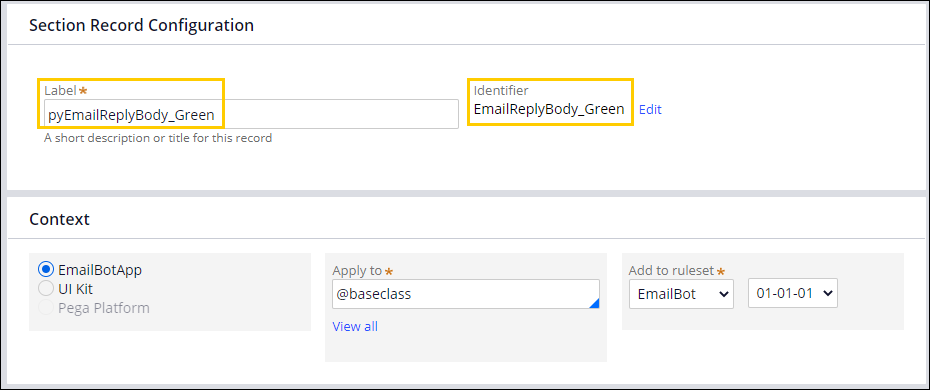
- In the Section Record Configuration section, in the Label field, enter a title for the rule.
- Click Edit next to the Identifier field, enter an identifier name in the following format: EmailReplyBody_<name>, and then click OK.
- Click Create and open.
- Create a new reply template
EmailReplyTemplate_<template_name> as a
correspondence rule:
- In the search field, enter _Cobalt
- In the search results, click pyEmailReplyTemplate_Cobalt.
- In the top-right corner of the page, click Pick email theme, and then in the Available Templates window, click the new email format template that you created in step 2.e.
- Click the Footer section in the template, and then in the Footer section on the right, click the HTML tab.
- In the text area, edit the copyright information so that it references your company name.
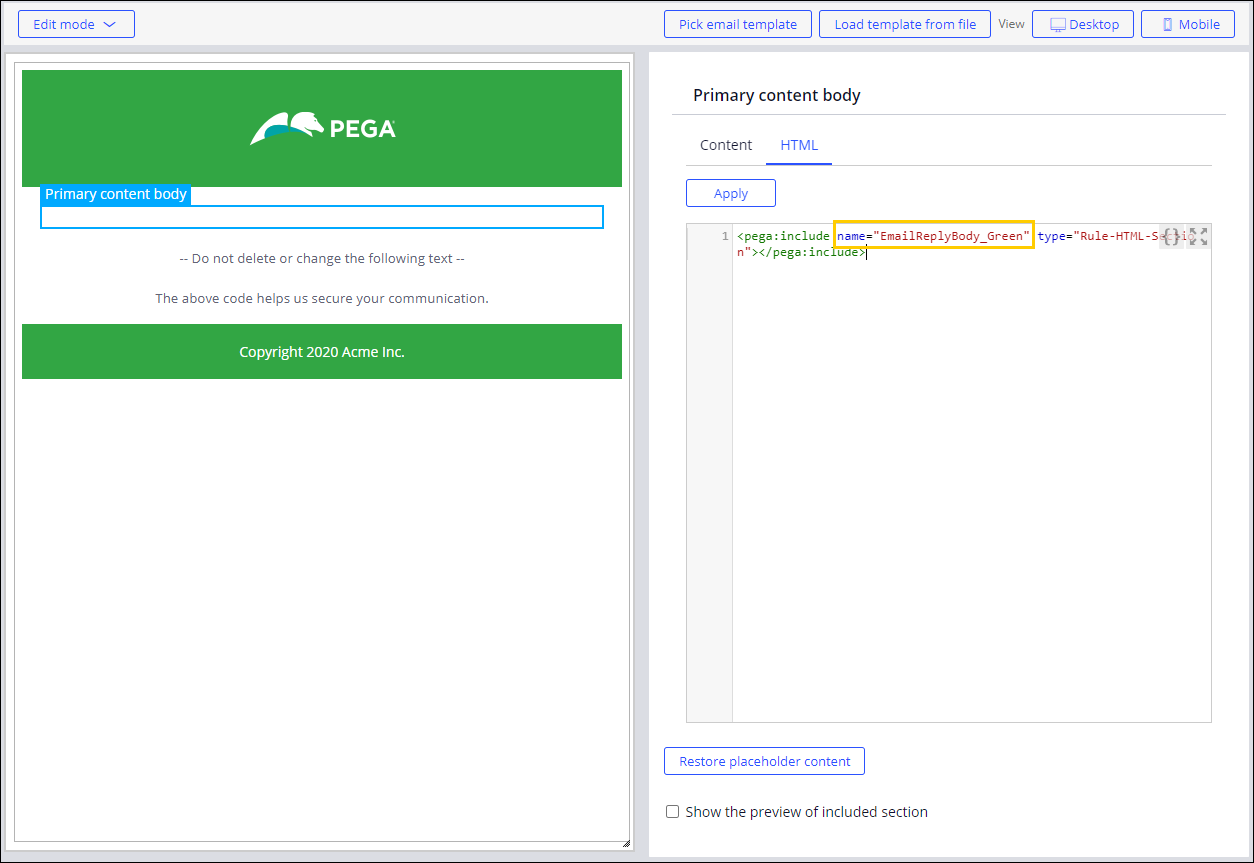
- Click the Primary content body section in the template, and then in the Primary content body section on the right, click the HTML tab.
- In the text area, change the pyEmailReplyBody_Cobalt string to the name of the rule you created in step 3.f.
- Click the Header Logo section in the template,
in the Header Logo section on the right, click the
HTML tab, and then in the text area, modify
the HTML img tag attributes to reference an image for your company logo. If you want to include your own image logos, host them at a publicly available URL rather than including them inline. Many email programs block inline images completely or send them as attachments, by default. As a result, broken email formatting or unnecessary attachments might occur in the system.
- Click Save as, and then click Save as.
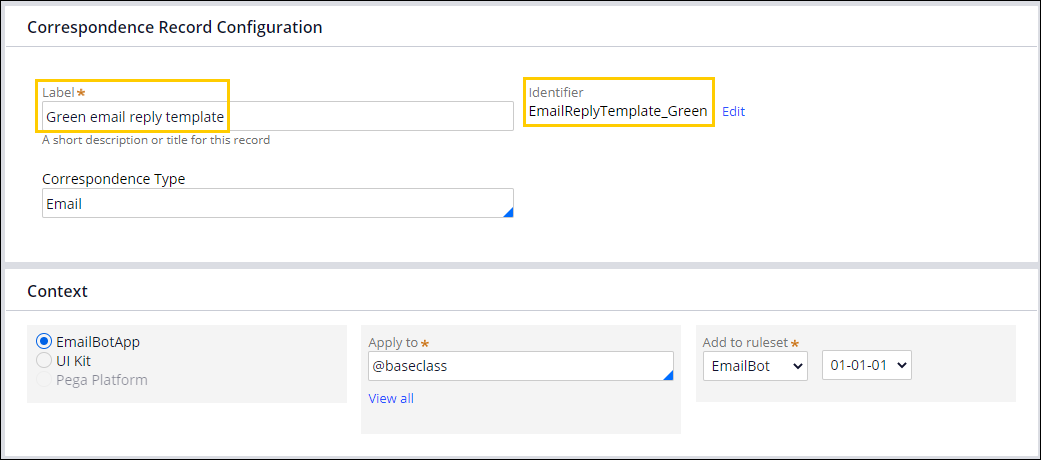
- In the Correspondence Record Configuration section, in the Label field, enter a name for the new email reply template.
- Click Edit next to the Identifier field, enter an identifier name in the following format: EmailReplyTemplate_<name>, and then click OK.
- Click Create and open.
- Create a new acknowledgment template
EmailAckTemplate_<template_name> as a
correspondence rule:
- In the search field, enter _Cobalt
- In the search results, click pyEmailAckTemplate_Cobalt.
- In the top-right corner of the page, click Pick email theme, and then in the Available Templates window, click the new email format template that you created in step 2.e.
- Click the Header Logo section in the template, in the Header Logo section on the right, click the HTML tab, and then in the text area, modify the HTML img tag attributes to reference an image for your company logo.
- Click the Footer section in the template, and then in the Footer section on the right, click the HTML tab.
- In the text area, edit the copyright information so that it references your company name.
- Click Save as and then Save as.
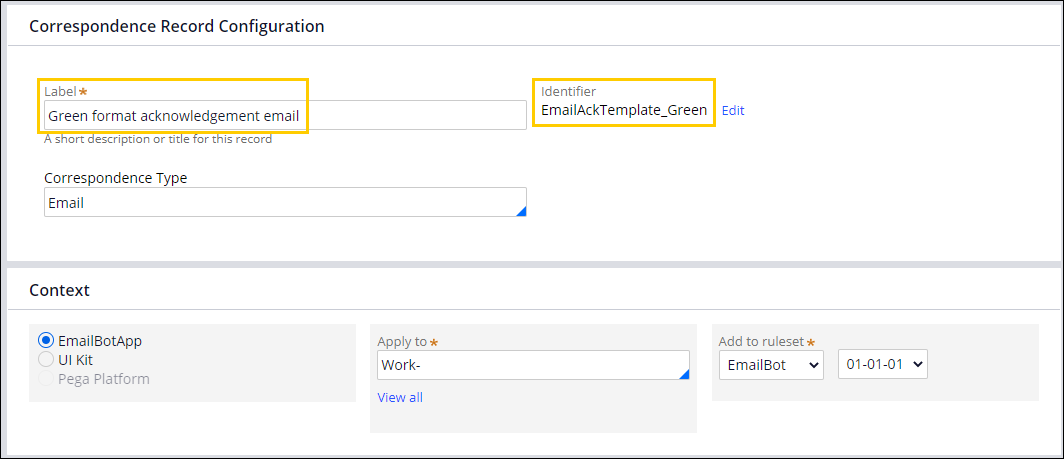
- In the Correspondence Record Configuration section, in the Label field, enter a name for the new email acknowledgment template.
- Click Edit next to the Identifier field, enter an identifier name in the following format: EmailAckTemplate_<name>, and then click OK.
- Click Create and open.
- Switch back to App Studio.
Previous topic Adding URL mappings to secure inline images for triage cases Next topic Enabling reports for the email bot

