Creating a stand-alone process
Create a stand-alone process to support or supplement the steps in a case life cycle. By creating a process outside the context of a case life cycle, you can reuse the process in other case types.
For example, in a banking application, you can create a process for collecting feedback, and then reuse the process in different case types, such as resolving a credit card dispute or opening a new bank account.- Create a rule that stores the process:
- In the header of Dev Studio, click .
- In the Label field, briefly describe the purpose of the process.
- Optional: To change the default identifier for the process, click Edit, and then provide a unique value in the Identifier field.
- In the Context section, select an application layer to store the process.
- In the Apply to field, click the Down arrow key, and then select a class that stores the process.
- In the Add to ruleset list, select a ruleset and a ruleset version to store the process.
- Click Create and open.
- In the header of Dev Studio, click .
- On the Diagram tab, click Flow Shapes,
and then select a shape that you want to add to the flow diagram.For more information about flow shapes, see Flow shapes.
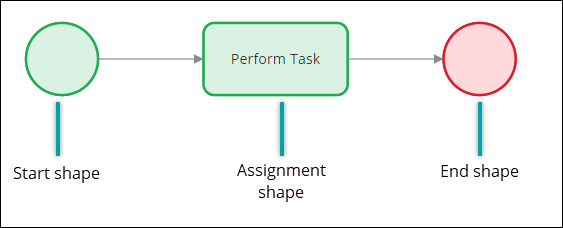
- Connect the shapes by dragging connectors from one shape to another.
- Click Save.
- Flow shapes
A shape in a flow represents a task that a user or application completes as part of a business process. By connecting different types of shapes in a flow, you can define the path that a case follows from creation to resolution.
- Creating a screen flow
Create a screen flow to walk a single user through a series of screens to collect information. By dividing information into multiple screens, you provide a well-organized and user-friendly interface that is convenient to navigate.
Previous topic Configuring advanced processes Next topic Flow shapes

